Stuart Reynolds, Head of Product and Marketing at AKW, explains how wetroom challenges can be overcome through well-considered drainage and good preparation.
Over recent years, wetrooms have become increasingly the norm in many newbuilds and refurbishments, as well as the mainstay of inclusive bathroom design. However, if not done correctly, they can become the ‘gift that keeps on giving’ when it comes to drainage problems and leaks.
The gradient
A key issue that can arise with poorly designed or incorrectly installed wetrooms is pooling around the waste area and this can occur on both tiled and safety finish floors. However, correct installation for wastewater drainage depends on the kind of flooring already in the installation:
Overcoming obstacles
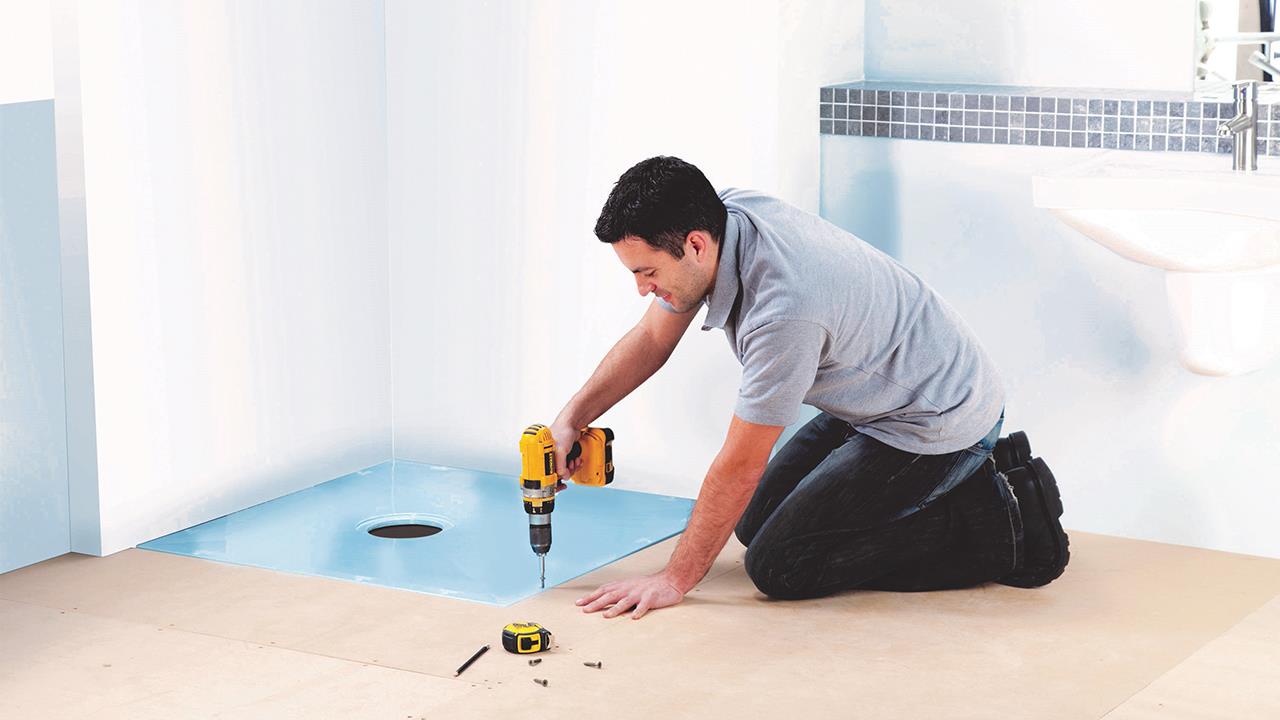
One of the most common problems that installers can come across when installing on joists is sub-floor obstructions that block the waste area.
To overcome this, many formers are available that incorporate an offset waste, allowing the installer to turn the former around to avoid the obstruction. However, there are still times when a joist blocks the waste area. This is where a wetroom former can help installers to avoid obstructing joists during installation.
Waterproofing
The sealing, or tanking, of the wetroom using a waterproof membrane is a key stage in the installation process, and the instructions need to be followed religiously. Tanking takes time, but it is time well spent, as doing each stage of the process correctly avoids expensive repair issues later on. Areas that need special attention when tanking are the corners and the seal between the floor and waste, with a particular focus on:
Underfloor heating
Underfloor heating is the icing on the cake when it comes to creating luxury in a wetroom, however to avoid difficulties during and post-installation:
Wetroom installation is avoided by some installers as it is seen as potentially complicated. However, there is no reason why the installation cannot go smoothly if the above tips are followed.
If you'd like to keep up-to-date with the latest developments in the heating and plumbing industry, why not subscribe to our weekly newsletters? Just click the button below and you can ensure all the latest industry news and new product information lands in your inbox every week.
Subscribe to receive your free copy of HVP every month.