In our latest installation guide, Salamander shows readers how to achieve a flawless installation of its new EVE pump.
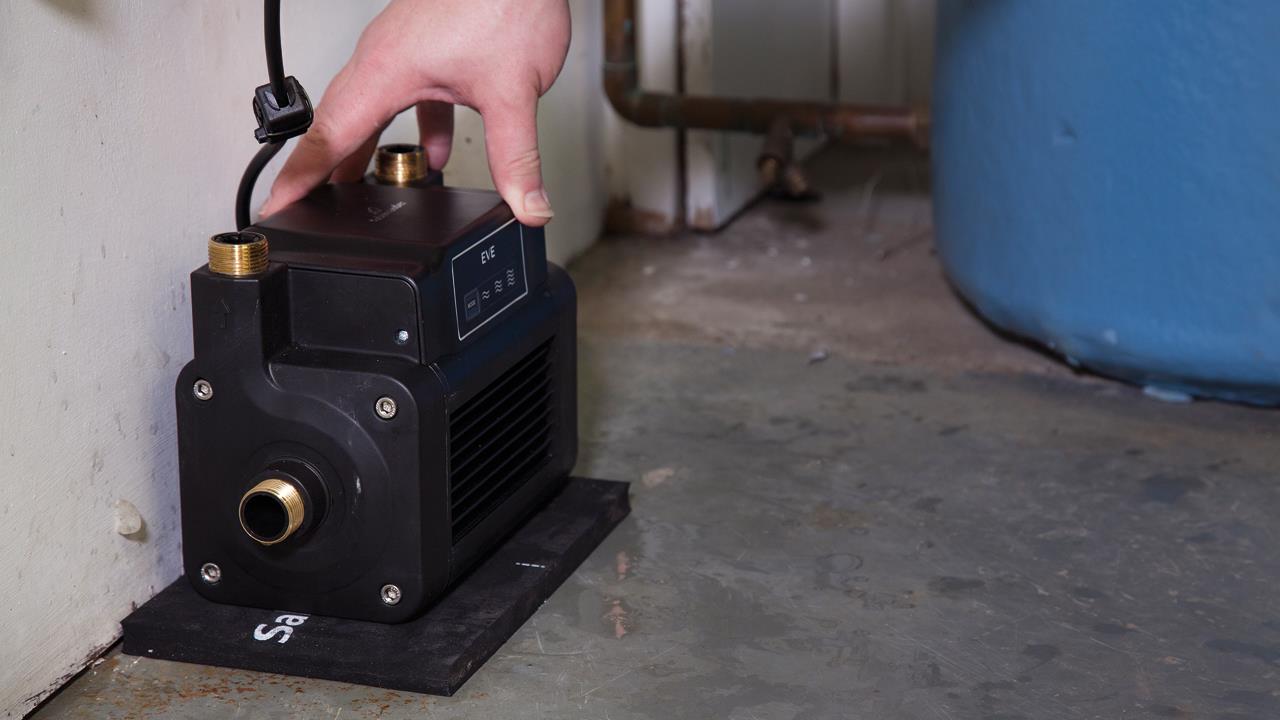
Salamander’s EVE is a twin-ended, universal shower pump featuring a variable bar rating, which can be changed with just the touch of a button. EVE uses a sensor to monitor the system water flow and detect any changes, while a brushless motor varies its speed to ensure a constant pressure. EVE will fit into both positive and negative head situations, without the need for a pressure vessel and working with any gravity-fed system.
Just follow the steps outlined below to correctly install the Salamander EVE pump.
Fit the supplied feet to the pump, then attach the hoses supplied to the robust brass connections. Make sure not to bend the hose too much, as Salamander’s hoses have an anti-vibration design, meaning that they are flexible but not designed to be bent more than 30-35° during installation.
Locate the pump in the pre-determined location and isolate water supplies to the hot water cylinder and cold water tank, and drain the system.
If soldering is to be carried out, the pipework should be set and clipped, then the pump and hoses removed so as not to come into contact with solder or flux. Flux residue will corrode the pump and will result in water leaks, so it’s important to ensure all solder joints are completed and flux residues removed prior to the pump connection.
Create a connection to the cold water tank through the use of an appropriately-sized tank connector and run a dedicated cold water feed to the pump.
Remove the hot outlet connection from the cylinder if there currently isn’t a flange fitted and fit an appropriate flange, such as a Surrey Flange.
Once the flange is connected to the cylinder, reconnect the vent pipe and any un-pumped services to the top connection of the flange, and then take a dedicated feed from the side of the flange to the pump.
Feeds from the outlets now need to be taken to the appliances being added to the pump. If this includes any up and over pipework, it’s best to fit some air vents on the highest point of the system.
If the whole house is to be supplied, there should be a dedicated vent pipe from the cylinder with the outlet of the pump supplying the whole hot water supply. This supply should not be linked back into the vent, as it would cause the pump to push water back into the vent.
If the pump and hoses had been removed before soldering, re-fit the pump, ensuring the bar rating control panel is accessible. Make sure to fit filter washers to the inlets of the pump, and ensure the standard flat washers are on the outlets.
With the isolating valves turned off, re-fill the hot and cold water system and ensure all non-pumped outlets and new pipework are functioning as they should. Then turn on the inlet isolating valves and check for leaks.
With all pumped outlets off, turn on the outlet isolating valves, again checking for any possible leaks. When water has been restored, before turning the electricity on to the pump, allow as much natural flow through pumped outlets as possible to ensure the pump and all pipework is flooded.
If it’s not possible to obtain a natural flow (such as in a negative head situation), discharge water from the pump’s outlets into a bucket, using pipe or hoses to ensure the pump is full.
Once all these steps are completed, the pump can now be plugged into a socket or wired into a fused spur by a suitably qualified person.
Switch on the electrical supply to the pump, and then turn on all outlets one at a time to ensure the pump pressure is as desired. Job done!
Click here to view a PDF of the page as it originally appeared in the magazine, with imagery.
If you'd like to keep up-to-date with the latest developments in the heating and plumbing industry, why not subscribe to our weekly newsletters? Just click the button below and you can ensure all the latest industry news and new product information lands in your inbox every week.
Subscribe to receive your free copy of HVP every month.